Cold Email Inbox Signal Tracking
Intro
Your outbound inbox is probably full of noise. Bounces, auto replies, unsubscribe requests, random responses, and somewhere in between the replies that actually matter.
This setup connects your cold email inboxes to callonreply so we can continuously monitor incoming replies, analyze the sentiment with AI, and surface high intent leads immediately.
You can configure how often inboxes are checked, anywhere from near real-time polling to longer intervals depending on your setup and preference.
Once a relevant reply is detected, notifications can be pushed directly to your desktop browser and your iPhone so you notice warm leads quickly instead of discovering them buried hours later inside your master inbox.
The goal is simple: less inbox chaos, faster reactions, and fewer missed opportunities while leads are still engaged.
Before we start with explaining the technical setup, here is what notifications look like and how the process works:
When the Setup is done you will receive following desktop notifications when our app detected signals inside your inbox.

After you click on the notification, the app will open a focus view with summary of your e-mail conversation, name of the lead and state of the signal.
By clicking on call, you will directly call the lead. (the app will open your default dialer app on the computer for that)

On your mobile phone notifications will look like this:

By tapping on it, the callonreply app will open and you can directly call the lead from your iPhone.
This allows you to do your daily regular tasks without observing the inbox 24/7. Our app will ping you when to take action.
The following setup will guide you through:
- connecting your inboxes via IMAP
- configuring polling intervals
- enabling desktop notifications
- enabling iPhone/mobile push notifications
- Allow Notifications
After logging in you click on “Enable” in the top corner in order to receive desktop notifications. This will allow you to later on work on your regularly daily tasks and only open the App when real signals came in.

- Activate Link Tracking
Ater logging in you need to add your URL destination so the tool can generate Unique URLs that will be tracked later on for your Outreach.
You can add your Book a Meeting Link, Payment Page etc…

- Upload Leads
In Order for the Tool to be able to identify Leads and notify you with Signals you need to update the Leads that you are currently contacting with your Campaigns.
Drag and Drop your CSV as it is to the Upload Field or manually Create new Leads by clicking on “New Lead”.
If your list contains a lot of Data (20k+ Leads it can take up to 30 seconds)

After you uploaded the Leads the App will generate Unique URLs for each Lead. You will see those URLs here.

You now can download your list again with the generated URL. Our tool will just extend you exact list with a new column where the unique URL is stored.

If you need Integrations to your CRM System, please contact support@callonreply.com
4. Connect your E-mail Inbox
In Order for our Tool to be able to get signals, you need to connect your E-mail Inbox and allow the App to read E-mails.
For that you go to Inbox and click on “+Add”

There you can connect your Gmail Inbox, Outlook, Name Cheap Inbox, Zoho E-mail and many more.

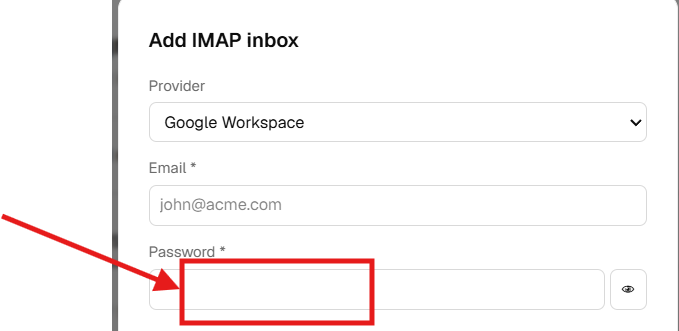
After you have chosen the Provider, type in your E-mail and Password. (Except for Google, there you have to type in the “App Password” instead of your regular password. More about Gmail login in the “Gmail Login App Password” Section.👇)

In the Poll Intervall you choose the Intervall in which our App is allowed to read your E-mails and detect Signals. (Recommended is 1 Minute)

Test & save.
Your Inbox is now connected.
For Gmail Users:
Gmail Login App Password
- Go to your Security Settings: https://myaccount.google.com/u/1/security
- Click on “Two Step Verification” and select GET STARTED”.
- If prompted, log in to your account again.
- Set up your phone for 2-Factor Authentication.
- Enter the code you receive on your phone to confirm the setup.
- Once confirmed, click on “TURN ON” to activate Two-Step Verification.
Create App Password
After you have enabled 2-step verification you can create an App Password.
- Go to your Security Settings: https://myaccount.google.com/u/1/security
- Click on “App passwords” or use this direct link: https://myaccount.google.com/apppasswords?pli=1
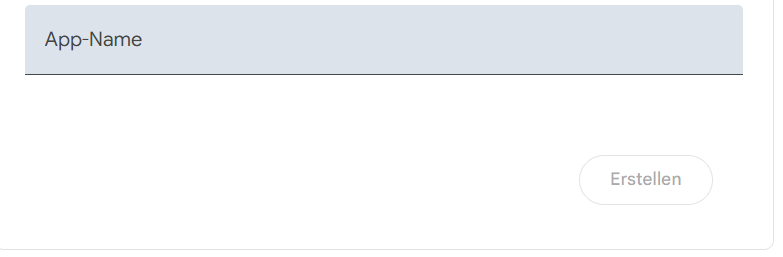
- Type in an “App Name”. You can type in “callonreply”, and click on “Create”
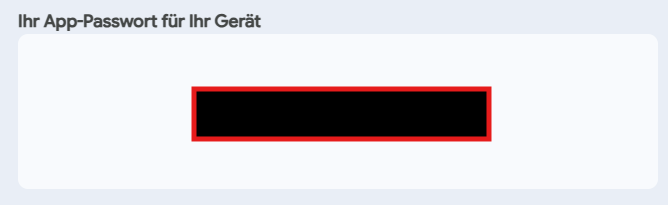
- A password will be generated and will look like this:
- Type this password into the password field in the callonreply app:


Extra Setups needed for Outlook:
Enable IMAP in your Outlook Account Settings (This allows our App to read your E-mails)
How to do it:
https://support.microsoft.com/en-us/office/pop-imap-and-smtp-settings-for-outlook-com-d088b986-291d-42b8-9564-9c414e2aa040
- Mobile App
If you want to use our iOS Mobile App, you will receive the signals also onto your phone.
Open https://www.callonreply.com/settings on your Safari Browser on iPhone.
Tap on Share, then Add to Home Screen.
Open the installed app and approve notifications.
You will now also receive mobile notifications when signals came in and can call Leads directly from your Phone.

For support requests please contact support@callonreply.com